
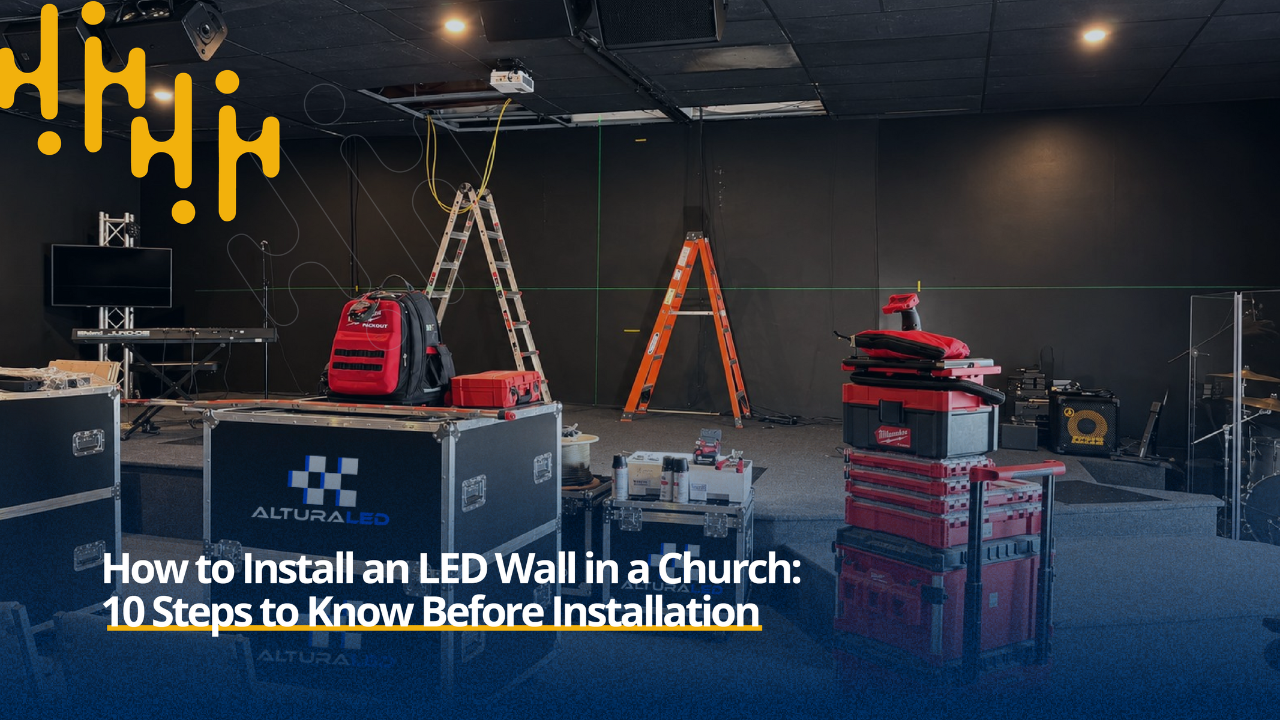
How to Install an LED Wall in a Church: 10 Steps
Sep 14, 2026If you're wondering how to install an LED wall in a church, the honest answer is that the display itself is usually the easy part. Most of the real work happens before the panels ever go up, in the planning, structural checks, and electrical prep that make the actual mounting go smoothly.
Churches often research pixel pitch, brightness, and screen size in detail, then get surprised partway through the project by a structural requirement, a scheduling conflict, or a wiring detail nobody mentioned earlier. None of that has to catch your church off guard.
Here's what actually happens during a church LED wall installation, step by step, so you know what to expect before the project starts.
How to Install an LED Wall in a Church: 10 Steps
Installing an LED wall in a church generally follows the same sequence, regardless of the size of the display or the size of the sanctuary. Understanding each step ahead of time makes the whole process far less stressful for your team.
1. Site Assessment and Sanctuary Walkthrough
Every installation starts with a physical walkthrough of the space. This includes measuring the mounting area, checking ceiling height, noting existing conduit, plumbing, or electrical runs, and documenting the stage layout with photos and measurements.
This step exists to catch problems on paper instead of on installation day. Skipping it, or rushing through it, is one of the most common reasons installations run into surprises later.
2. Confirming Structural Support for the Wall's Weight
LED walls are heavier than most churches expect. A standard-sized display can weigh several hundred pounds once fully assembled, and the mounting surface needs to be rated to support that weight safely, not just hold it up temporarily.
Industry guidance points to using a structural safety factor well above the display's actual weight, since engineering standards for LED wall installations generally call for a safety margin greater than 5 times the wall's weight, with a licensed structural engineer brought in when reinforcement is needed.
If your stage wall is drywall, concrete, or an existing structure not built with this kind of load in mind, this is usually the step where reinforcement or a ground-supported frame gets discussed instead of a direct wall mount.
3. Planning Electrical and Power Requirements
LED walls draw power across multiple circuits, and that power needs to be planned, not improvised. This step involves confirming your church's existing electrical capacity, adding dedicated circuits where needed, and setting up proper grounding and power distribution.
Getting this wrong doesn't just risk an inconvenience. Overloaded circuits can trip breakers mid-service or create a genuine safety hazard, which is why this step happens well before installation day, not during it.
4. Mapping Cable Runs and Signal Paths
Once power is planned, the next step is mapping how video and data signals will travel from your production booth to the display itself. This includes deciding where cables run, how they're protected, and how everything is labeled for future maintenance.
Clean, well-planned cable runs make a real difference for your volunteer team later. A tangle of unlabeled cables might work on day one, but it becomes a headache the first time something needs troubleshooting.
5. Confirming Compatibility With Existing Production Gear
Before installation begins, your team should confirm the LED wall will work with the systems you already use, including presentation software like ProPresenter, your video switcher, and any cameras that will capture the display for livestreaming.
This step matters because discovering a compatibility issue after installation is far more disruptive than catching it beforehand. It's also where a provider handling full AVL integration, rather than just the display itself, tends to prevent problems the church wouldn't have known to ask about.
6. Scheduling Around the Church's Service Calendar
Installation timelines need to work around your church's actual schedule, not the other way around. That usually means planning major work for weekdays and avoiding disruption to Sunday services, midweek programs, or scheduled events.
Every church's calendar looks different, so this step is less about a fixed number of days and more about building a plan around your specific service schedule from the start.
7. Mounting and Assembling the Panels
With the structural, electrical, and scheduling groundwork done, physical installation can begin. Panels are typically mounted starting from the center or bottom of the frame and locked into place one at a time, with each panel carefully aligned to the next.
Precise alignment at this stage is what determines whether the finished display looks like one seamless screen or shows visible gaps and seams between panels.
8. Wiring and Connecting the Display
Once the panels are mounted, the power and data cables get connected, typically running in a daisy-chain pattern from panel to panel. Cables are routed cleanly and labeled clearly, which matters for any future maintenance or troubleshooting.
This step also includes connecting the display into your existing production system, using the compatibility groundwork from step 5.
9. Calibration and Color/Brightness Testing
A newly mounted LED wall isn't ready for a service until it's been calibrated. This includes adjusting color consistency across panels, setting brightness levels appropriate for your sanctuary's lighting, and checking the display under different lighting conditions your church actually uses.
Calibration is also where camera performance gets tested if your church livestreams, confirming the display looks right both in person and on screen.
10. Final Walkthrough and Team Training
The last step is a final walkthrough with your production team, covering how to operate the display day to day, troubleshoot common issues, and know who to call if something more serious comes up.
A church that understands its own system from day one avoids a lot of unnecessary stress the first time something needs adjusting mid-service.
What to Prepare Before Installation Day
Preparing for LED wall installation before the crew arrives can make the entire project move faster and with fewer surprises. A few things worth handling on the church's side:
- Clear the stage area of instruments, decor, or equipment that could be in the way
- Confirm access to the electrical panel and any relevant utility shutoffs
- Have a point person available who can make quick decisions during installation
- Share your service and event calendar in advance so work can be scheduled around it
- Flag any known building quirks, like older wiring or non-standard wall construction
Planning an LED wall installation for your church?Book a free consultation and we'll walk you through what your specific space will need before installation day. |
Sound of Heaven handles this entire process directly, from the first AVL integration conversation through the final walkthrough. So your team isn't left coordinating contractors and electricians and scheduling on your own.
Also Read:
Frequently Asked Questions on How to Install an LED Wall in a Church
How long does a church LED wall installation typically take?
Timelines vary based on the size of the display, the complexity of the structural and electrical work, and how the schedule fits around your church's services. Rather than a fixed number, most providers build a timeline around your specific project once the site assessment is complete.
Does our church need a structural engineer for installation?
Not always, but it depends on your building. If your mounting surface isn't rated to safely support the wall's full weight with a proper safety margin, a structural engineer or reinforcement work may be needed before installation can proceed.
Can our volunteer team help with any part of the installation?
Structural, electrical, and mounting work should be handled by trained installers. Where volunteers add real value is in the final training step, learning to operate and troubleshoot the system once it's live.
What happens if our sanctuary's wiring isn't set up for an LED wall?
This is exactly what the electrical planning step is for. If your church's existing power setup can't support the display, dedicated circuits and updated wiring are typically added as part of the installation project, not treated as a separate problem afterward.
Will installation disrupt our regular church services?
It shouldn't, if scheduling is planned properly. Most installation work is scheduled around weekdays and outside of regular service times specifically to avoid disrupting Sunday worship or midweek programs.
|
Ready to plan your church's LED wall installation? Talk with our team about your sanctuary, your timeline, and what to expect every step of the way. |
Don't miss a beat!
New moves, motivation, and classes delivered to your inbox.
We hate SPAM. We will never sell your information, for any reason.